A week ago today, I was sitting at my desk ready to pull my hair out. I’d spent the better part of the week apologizing to clients and mentally kicking myself for doing something that’s completely uncharacteristic of me: missing deadlines. As a student and I professional, I’ve always been extremely anal about meeting deadlines long before they approached, and it was a shock when my week started off with not one but several reprimands from valued clients asking why I was late on assignments. I scrambled pretty much all of last week to first finish those delayed projects, apologize profusely, and finally sit down with myself and figure out what had gone wrong.
We all screw up eventually.
For all of the posts I write on my blog or social media accounts about productivity and success, there are just as many moments when I’m at my wit’s end, on the brink of what feels like a colossal screw up. As I admitted to a colleague over lunch yesterday, I commit to doing way too much, and despite having an organizational system in place to keep track of it all, occasionally important things do go unnoticed. Like committing to doing things in an email without actually reading the entire email (true story, which was the root of my problems last week).
Bottom line: when I realized not only how bad I was feeling, but also how my mistakes were not at all beneficial to the clients, I knew something had to be done. On days when I would normally do housecleaning tasks such as filing receipts or doing actual cleaning of the house, I emptied two full days in my calendar, dedicating them to my first ever Productivity Days.
Productivity Days Part 1: Spring Cleaning
Identify the problem(s).
The first step to fixing a problem is doing an honest assessment and figuring out what the problem actually is.
In my case, I had several very visible problems going on:
a) Feeling overwhelmed by emails.
b) Distraction from too many forms of communication.
c) Feeling annoyed by the clutter on my desk.
d) Committing to so many tasks that my old organization system can’t keep up.
e) Thinking that I accomplished more in one day than I actually did.
Come up with actionable solutions.
A lot of the problems I identified above had to do with a confused and muddled workflow, not being very transparent with myself about where my time every day was going, and being distracted by physical items and clutter. The main solutions I came up with to solve my problems were actually quite simple, yet they did indeed require time to get them implemented:
- Create an organized, clean, minimal environment in which I feel inspired to work efficiently and without distractions.
- Examine my workflow for opportunities to streamline and track my time to make sure tasks are being completed within a reasonable timeframe.
Start implementing solutions!
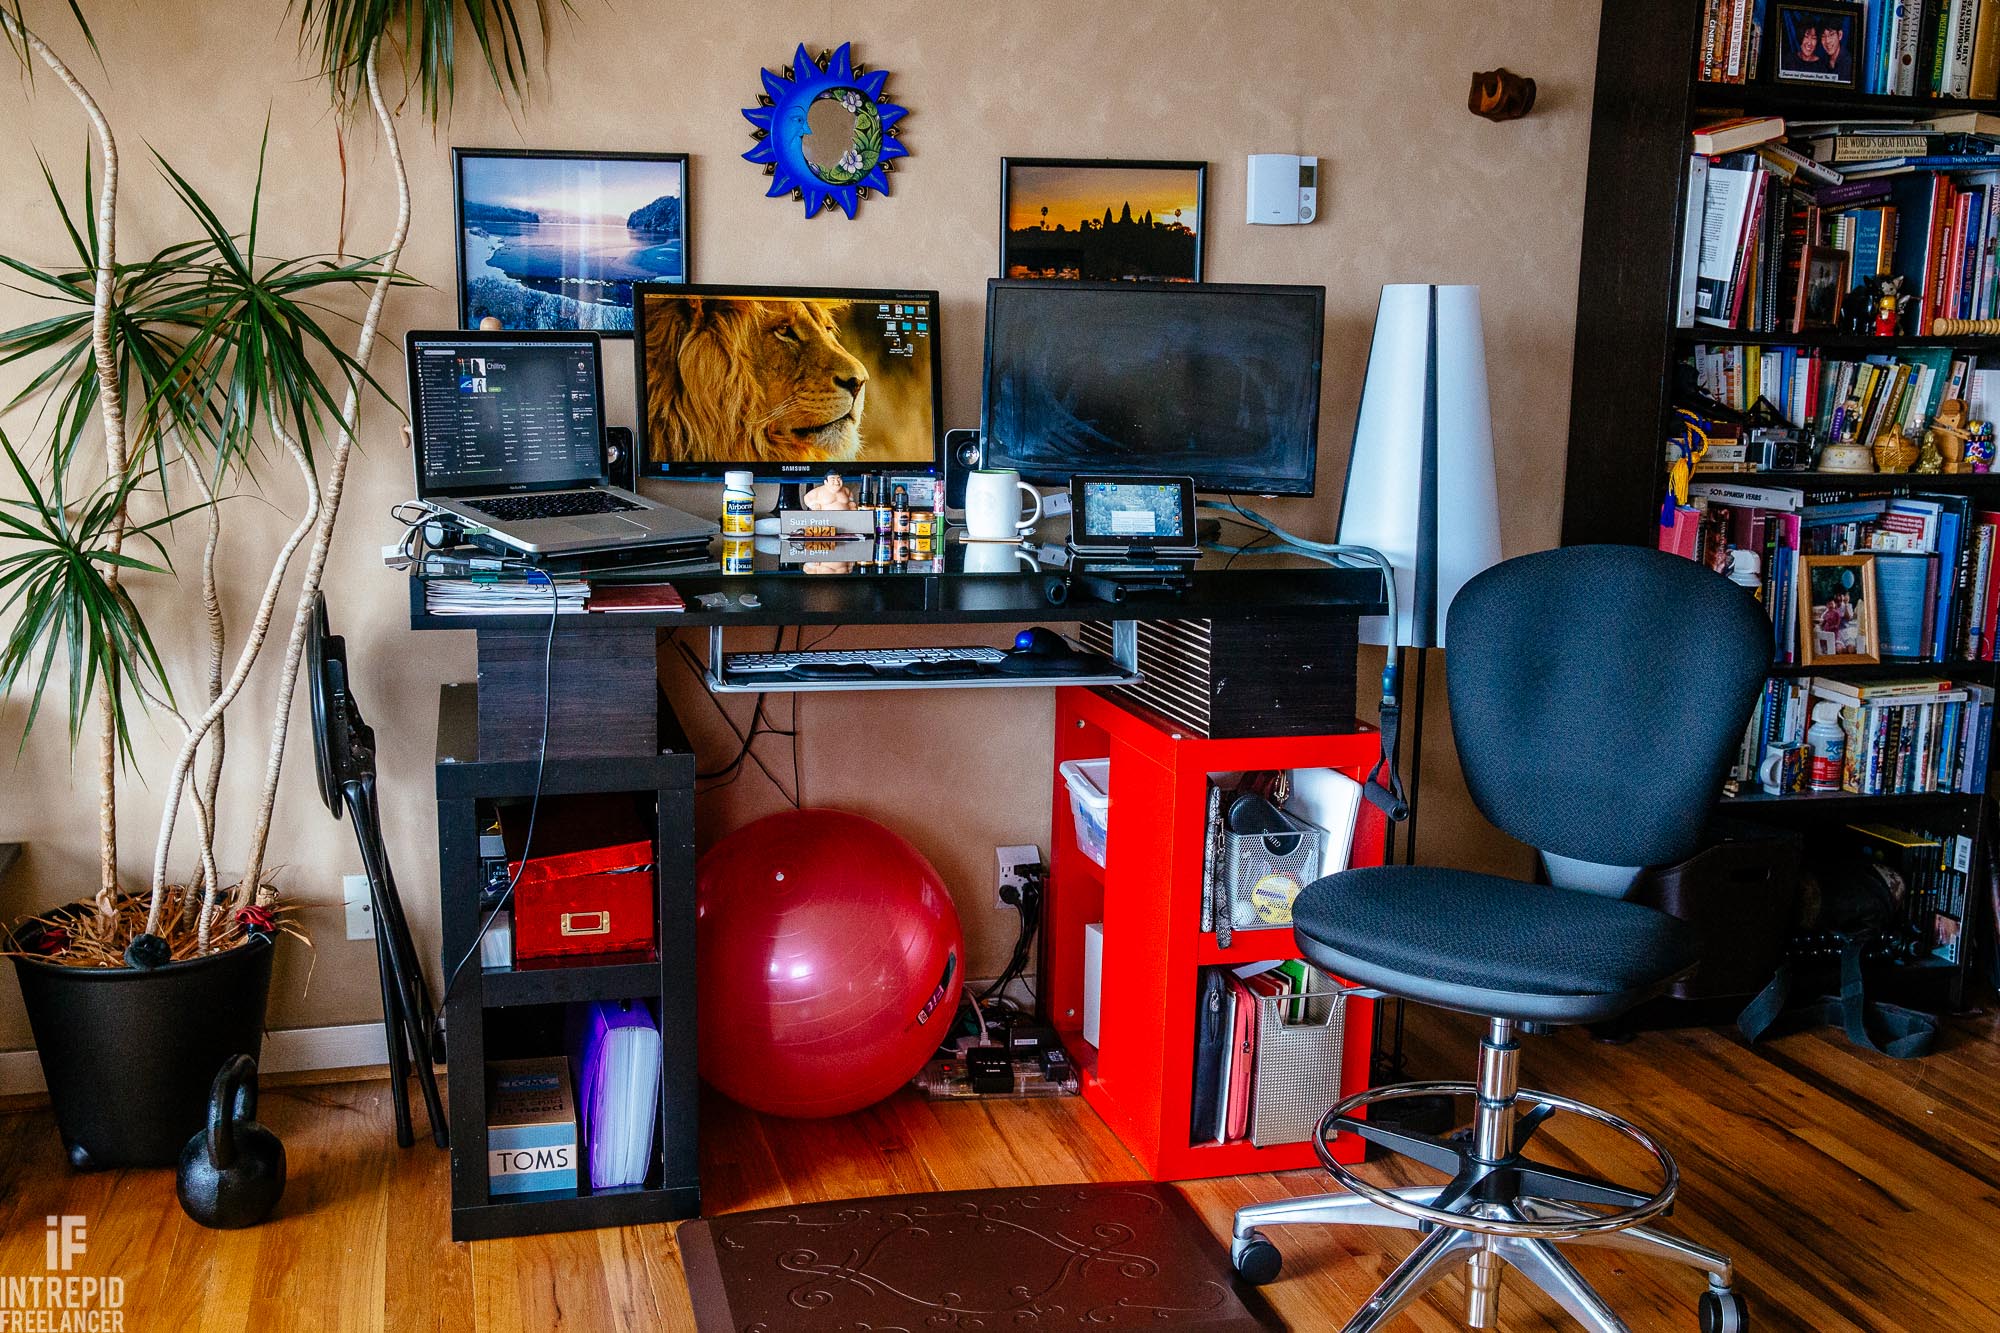
This blog installment will focus on implementation of my first solution: “create an organized, clean, minimal environment,” aka spring cleaning! After dedicating half of one day to deep cleaning my entire home office apartment, I already had a vacuum full of dust and three huge trash bags stuffed with items to donate to Goodwill — and I hadn’t even tackled my desk space yet! For a frame of reference, the photo below is of my desk as I’ve had it organized for the past two years.
It’s a decent setup with some ergonomics already at play, plus utilizing multiple screens and devices to keep one device from getting too drained of energy. However, there was a ton of room for improvement.
1) Use it or lose it.
This was the mentality I had when cleaning out my closet as well as going through my desk supplies. The main desk items that ultimately ended up going into the Goodwill bags were the paper organizers behind the white laptop. While I like the intent of them, the truth is they ended up being a dumping ground for paper items, ultimately becoming a source of distraction. The organizers were dumped, and the papers now either go directly into the recycling bin or into an expandable file folder where they are sorted appropriately.
2) Cut the cables.
Go wireless as much as possible to eliminate cable and cord clutter around your desk. The easiest things to go wireless with are keyboards and computer mice since they’re very affordable and many of them connect to laptops or desktop monitors via Bluetooth or USB. I currently use a Logitech K750 keyboard, which is wireless, solar-powered, and just $50, as well as a Logitech M570 mouse, which is wireless, ergonomic, and just $34. I’ve been a loyal Logitech customer for their tech goods and they are always affordably priced and last a long time.
If you do purchase a bunch of wireless accessories for your computer, be aware that some of these products (including the ones I mentioned above) will connect to your computer via a USB dongle, thus taking up a valuable USB port. I discovered this problem the hard way, but was lucky to find a solution in the form of a USB hub like this one that Amazon offers. These hubs are cheap and can add up to 10 extra USB ports to any device.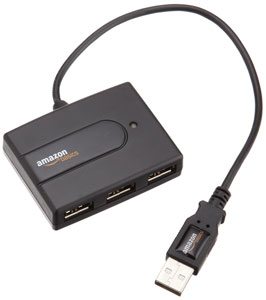
3) Make your work station as ergonomic as possible.
When I first created my home office over two years ago, I purchased a bulky desk from IKEA that was stylish and on sale, but not exactly ergonomic. One of the first things I did was have a pull-out keyboard tray manually installed, which was a huge relief to my wrists and forearms. As time went on, I also began to desire a stand up desk for increased mobility throughout the day, and to combat shoulder problems. There are a host of stand up desk options out there, but not wanting to spend the money on a brand new desk, a DIY solution was engineered to raise my existing desk 8 inches using stacked book shelves. It was then discovered that I would need a taller chair to sit at the taller desk, as well as a mat to stand on throughout the day. While all of these extra purchases certainly were more than I was budgeting for, the ability to stand and work at my desk is TOTALLY worth it.
If you’re considering a stand up desk for your office, I highly recommend the following accessories:
CumulusPRO Anti-Fatigue Comfort Mat: This is marketed as a mat for kitchens and bathrooms, but it’s perfect for use at a standup desk. It’s just $50 and makes it much easier to stand for longer periods of time, especially in place of hardwood floors.
Safco Metro Extended Height Chair: I admit I wasn’t expecting to have to give up my IKEA desk chair, but it simply wasn’t tall enough for my new desk. Finding a tall desk chair ended up being rather challenging and I finally settled on this Safco chair. While somewhat pricey at $173, the chair has turned out to be really comfortable and the perfect height for my new desk. Highly recommend.
4) Go paperless.
If you haven’t already, opt for paperless forms of anything you regularly receive in paper form, such as e-statements from your bank or e-receipts from vendors. Truthfully, I’ve opted to do more online shopping in recent years not only for the convenience of having items delivered to my home, but because they keep a nice online trail of purchases, making it much easier for expense reporting and accounting.
If you must have paper items (ie. receipts, business licenses), scan and store them on a cloud service or ideally directly into your accounting program (Quickbooks supports this), and then file the physical copies into expandable file folders. This helps not only eliminate physical clutter, but to make those important documents easier to find later. In terms of recommended scanners, I mainly just take cell phone snapshots of small receipts, but for larger items I use a VuPoint Magic Wand scanner, which is portable, wireless, and just $100.

5) Fewer devices on at once.
My old desk setup used to be pretty crazy with screens and devices in the form of two laptops, a tablet, and a cell phone, not to mention all of the Internet browser tabs! I used to see this as being efficient, but per my identified problems earlier, having more distractions is hardly efficient. My new setup takes away many devices, putting them in off or silent mode, but it does add a screen in the form of an old TV that was going to be recycled, but has found a new home on my desk. It largely remains off, except for times when entertainment is appropriate, such as while editing a large batch of photos or doing repetitive tasks.
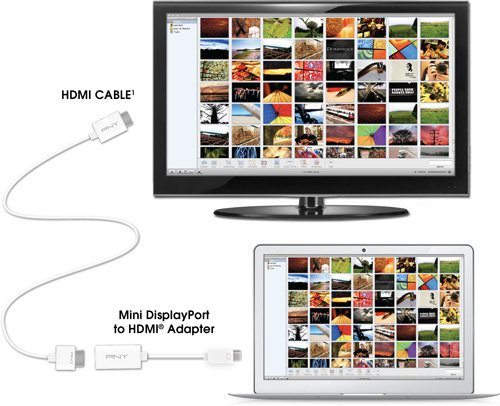
Pro tip: If you have a spare TV lying around, it is totally usable without TV service! Simply hook up your laptop via a HDMI cable, or if you have older model laptops like mine, a HDMI cable + Mini DisplayPort adapter will do the trick.
5) Reuse product boxes.
Let’s face it, certain retailers have impressive, highly durable packaging that makes it difficult to part with. I used to horde many of these, namely shoe boxes, camera boxes, and smartphone boxes, but they would stay empty and simply take up closet space. While doing my spring cleaning this season and tearfully gazing at the pretty boxes before taking them out to the recycling bin, I realized they still had a use.
As much as we try to go paperless and cordless, there are still items like dongles, business cards, paper clips, etc that need places to go. Why not repurpose old boxes to hold these items? In particular, I find that smartphone boxes are great for storing paperclips, memory cards, and small items, while shoeboxes make fantastic containers for cables and cords.
6) Don’t just clean and organize, but make it into a system that is easy to repeat.
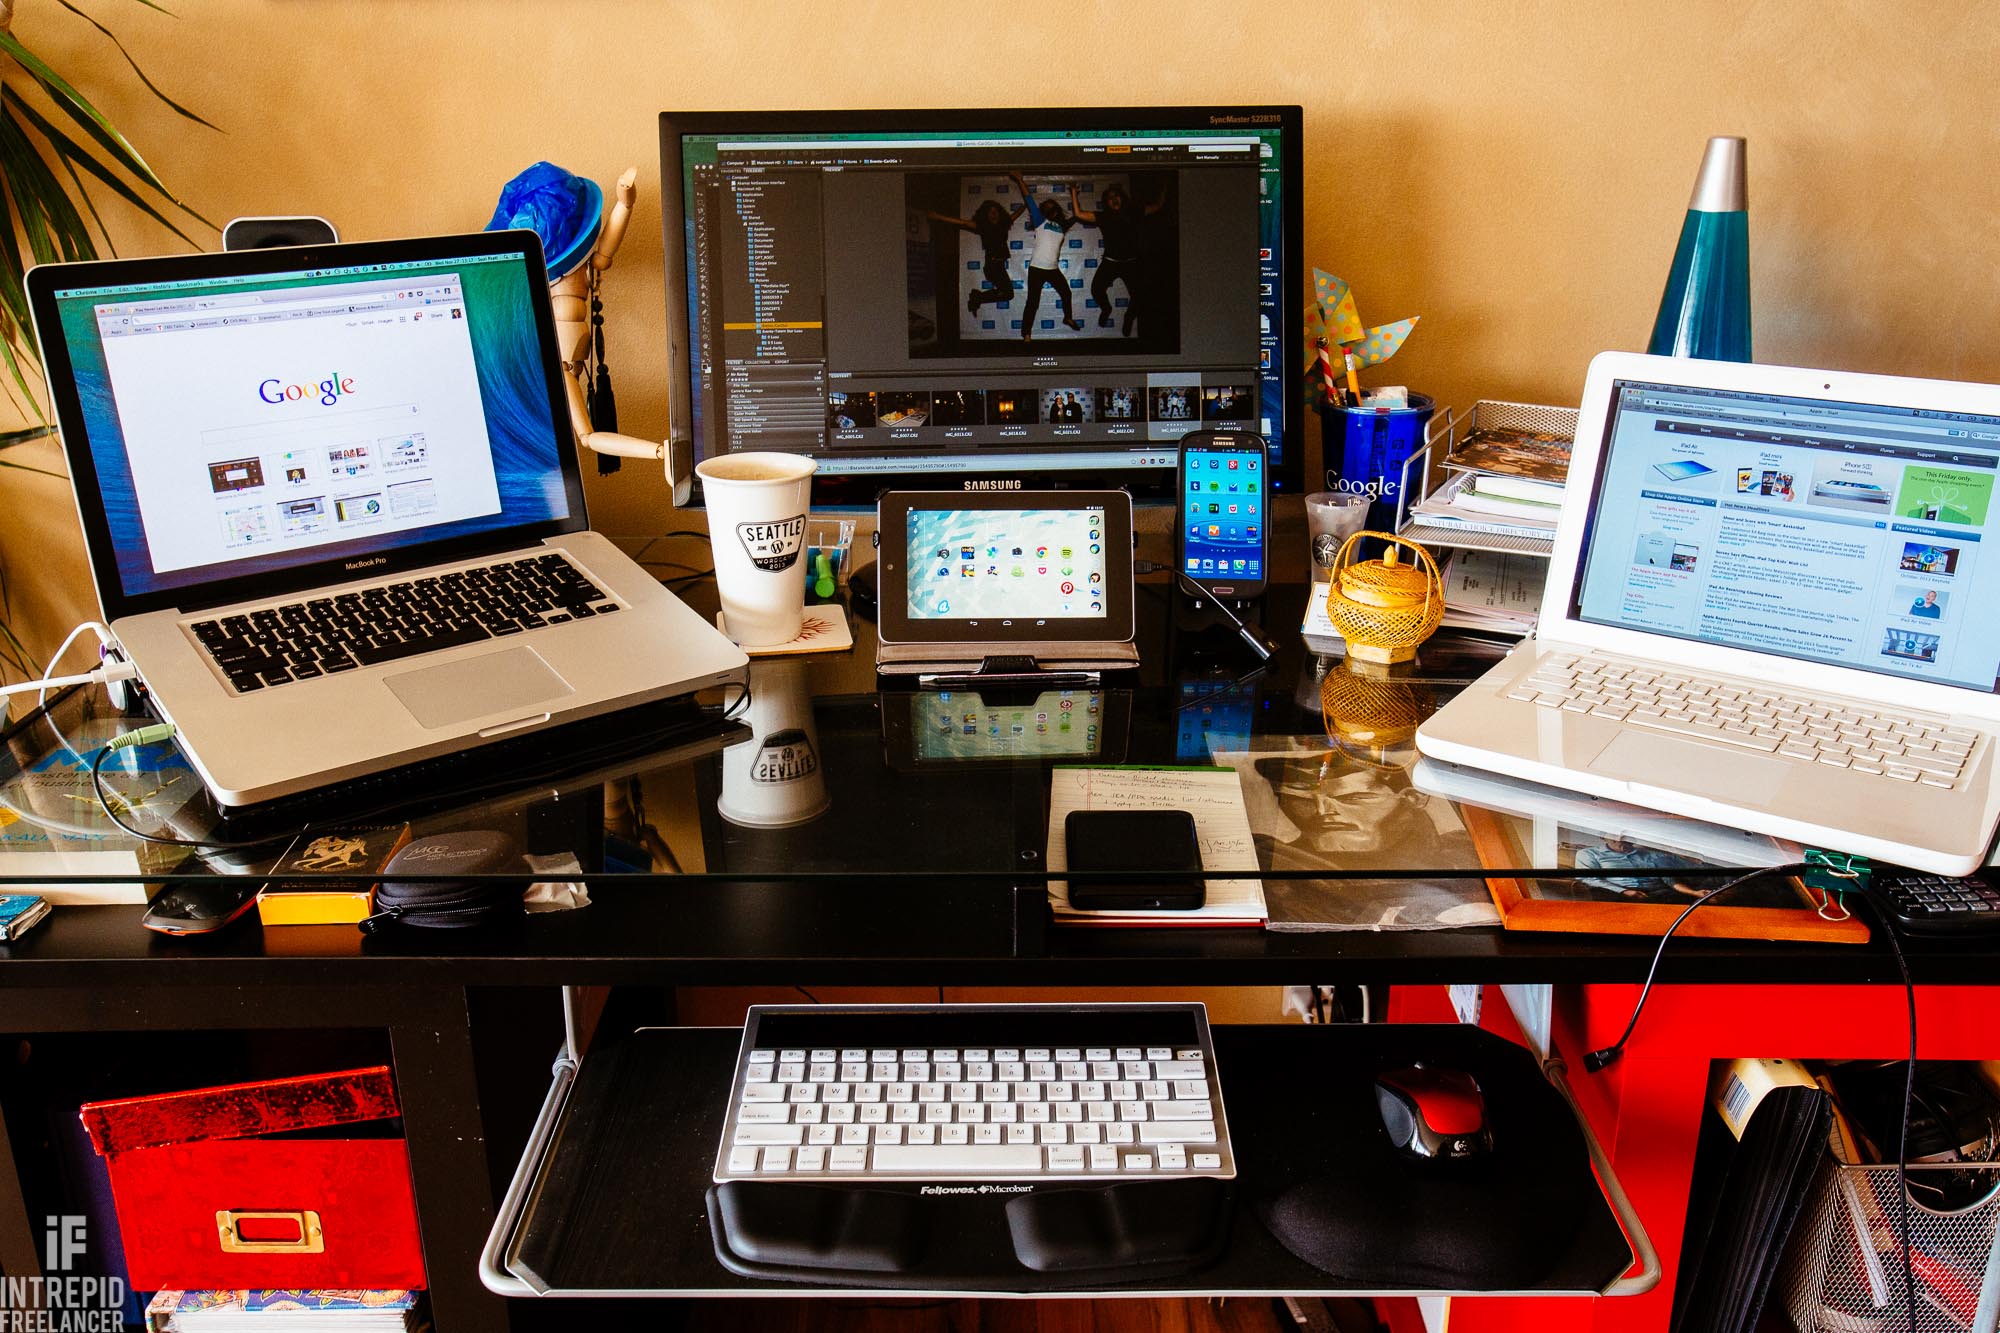
This is perhaps the absolute best lesson that I learned while spring cleaning this season: identify what prevents you from cleaning and organizing on a regular basis and clear up those roadblocks. As mentioned before, the main reasons why my desk tended to accumulate clutter and junk over time was that I didn’t have a system for putting the clutter away. By doing strategic organization such as eliminating the places where paper tended to build up (ie. the desk organizers) and repurposing and dedicating old product boxes to holding certain items (ie. shoebox = cables and cords), I’ve put myself on a system that prevents clutter from building up over time. Granted, it’s only been two weeks, but hey, if my desk can keep looking like THIS (below), I’ll take it!

Part two of this installment will outline the online system that I’ve created to track my time, keep my to-do list updated, and organize my emails. It’s a system that’s still being tested for now, but based on the results I’ve seen so far, I can’t wait to share it!